Wednesday 10 October 2018

Moving to Wordpress

I've had a number of issues with blogger.com over the past few weeks, but the deal-breaker for me has been the total lack of iPad compatability, Google have even withdrawn their iPad app. So...I've made the decision to change platforms...

The new blog is being hosted by me on my own hosting account (so I have total control) and is on the Wordpress platform - all of the current content has been transferred over, so we are good to go.

You can find the new blog at:
 
Take a look and let me know what you think.
Don't forget to subscribe or bookmark it!
 
See you on the other side......

Monday 1 October 2018

Spearhead: Lebisey, 7 June 1944

Another day, another Spearhead battle report - this time the battle at Lebisey on 7 June 1944 where 3rd Division tries to break through  21st Panzer's defences in the Lebisey woods to reach Caen. This was based on Scenario 2 of the Rapid Fire Normandy Battlegames/Battlegroups books, available via Wargames Vault. They are well worth a purchase, as they are balanced games with objectives that are achievable by either side.


British OOB

Regimental HQ (Regular)
1 - HQ Stand

1st Battalion, Suffolk Regiment
1 - HQ Stand
1 - 6pdr ATG/Truck
1 - 3" Mortar/Truck
1 - Carrier Platoon (Rifle if Dismounted)
4 - Companys (of 3 Rifle Stands)
1 - MG Platoon

2nd Battalion, East Yorkshire Regiment
1 - HQ Stand
1 - 6pdr ATG/Truck
1 - 3" Mortar/Truck
1 - Carrier Platoon
4 - Companys (of 3 Rifle Stands)
1 - MG Platoon

East Lancashire Regiment
1 - HQ Stand
1 - 3" Mortar/Truck*
1 - 4.2" Mortar/Truck*
3 - Companys (of 3 Rifle Stands)

7th Field Regiment
4-Priest (2 batteries) - off table
2 - OP Team

Staffordshire Yeomanry
2 - Sherman 75
1 - Sherman Firefly

41st AT Battery (Regular)
1 - Achilles (17pdr)
1-M10

German OOB

Regimental HQ (Regular)
1 - HQ Stand

1st Battalion, 125th Panzergrenadiers
1 - HQ Stand
3 - Companys (of 3 Rifle Stands)
3-HMG
1-Sdkfz 251 37mm ATG
1 - Marder III
1- Grille 150mm SP Gun
1-SP AA Gun 20mm

2nd Battalion 915th Grenadiers (Regular)
1 - HQ Stand
3 - Companys (of 3 Rifle Stands)
3 - HMG
1 - Marder III (AT only at upper range at -1)
1-SP AA Gun 20mm
1-Sdkfz 251/2 Mortar Halftrack

352nd AT Battalion (Regular)
2-Panzer IVH 75mm  (AT only at upper range at -1)
1-Panzer IIIF

 
At the start of the game, only one German Battalion was on-table...they deployed in line with the intention being that when the reinforcements turned up, they could form a second line and plug the holes!
It was the weakest British Battalion that came on first, and they focussed their attention on the(ir) right hand side, hoping to force the Germans to reveal all of their positions.
 
It is tricky for the British, as until the Germans fire, they needed to get within 300 Yards to spot them (i.e., 3"). As the gaps between terrain was more than that, it meant sending a squad across open ground. Fortunately, they had already spotted a German half-track, so didn't have to carry on the 6" per turn mandatory advance for being under attack orders.
 
Mind you, a change of orders would have been difficult to say the least, as the British Commander chose to walk directly up the road (never but your command arrow up the road!!!) shouting in a loud voice I'm here, shoot me....well it seemed like that, 'cos the Germans promptly did!


By the time the British reserves arrived, there were several holes in the German line.


Both sides deployed their indirect support, the British some 4.2" and 3" mortars, whilst the Germans had a 150mm Infantry Gun.
 
Unfortunately, that was it for the Jerries, the British, however, had access to 4 x Priest 105mm guns off table.


With both sides reserves finally on the table, the British worked on stretching the German defences where they could.
 
The Germans, on the other hand, advanced as far as the Chateau and Orchards. 


Casualties on both sides began to mount up, and the German reinforcements took the fateful decision to counterattack on one flank, rather than wait for the British to break through.
 
The British first Battalion broke, but unfortunately for the Germans, so did their front line...it was a rather inopportune moment for the Germans, and their counterattack found itself out on a limb.
 
One of the two remaining British Battalions was able to advance unopposed towards their objective.


It is very difficult to undertake a retreating action in Spearhead, so that was it! Game over!

Conclusion

Another excellent game, though I (as German C-in-C) felt I played like a muppet, underestimating how long the front line could hold for, and how long it would take me to redeploy if things went wrong.
 
Spearhead rally lends itself to this kind of "smaller" game - there is a different type of cautiousness as you try to protect your support assets. The British players did this particularly well.
 

Friday 21 September 2018

Spearhead: Villiers-le-Sec

Next year is the 75th anniversary of a number of the major events of WW2, and always one to plan ahead, I have been working my way through several rule sets as part of the preparation for several large games I am planning to commemorate the events.

World War 2 is a particularly difficult period to get the balance between playability and realism right, so after several false starts, I have returned to one of the first sets I ever played - Spearhead by Arty Conliffe.

I've worked through a couple of small scale games to get my head around the rules, and iron out any problems - so now they were in my head (and it is amazing how much stuff I used to get wrong I have found given I have now actually read them!) it was time for a bigger game.

Scenario: Villier-le-Sec, 6th June 1944


I lifted the scenario from the Rapid Fire Normandy Battlegames book - it is scenario 1, which is a hold one village whilst attacking the other scenario for both sides. It involves the DLI, so has local connections for me, and and is interesting as it was the battle where Stan Hollis got his Victoria Cross - he was the only person to be awarded a VC on D-Day.

The table was 4' x 3', 1" representing 100 Yards. Rapid Fire scenarios scale very well to about half their table size. I double checked my measurements on Google Maps, and it was spot on.

The following two images show the road out of Villiers-le-Sec


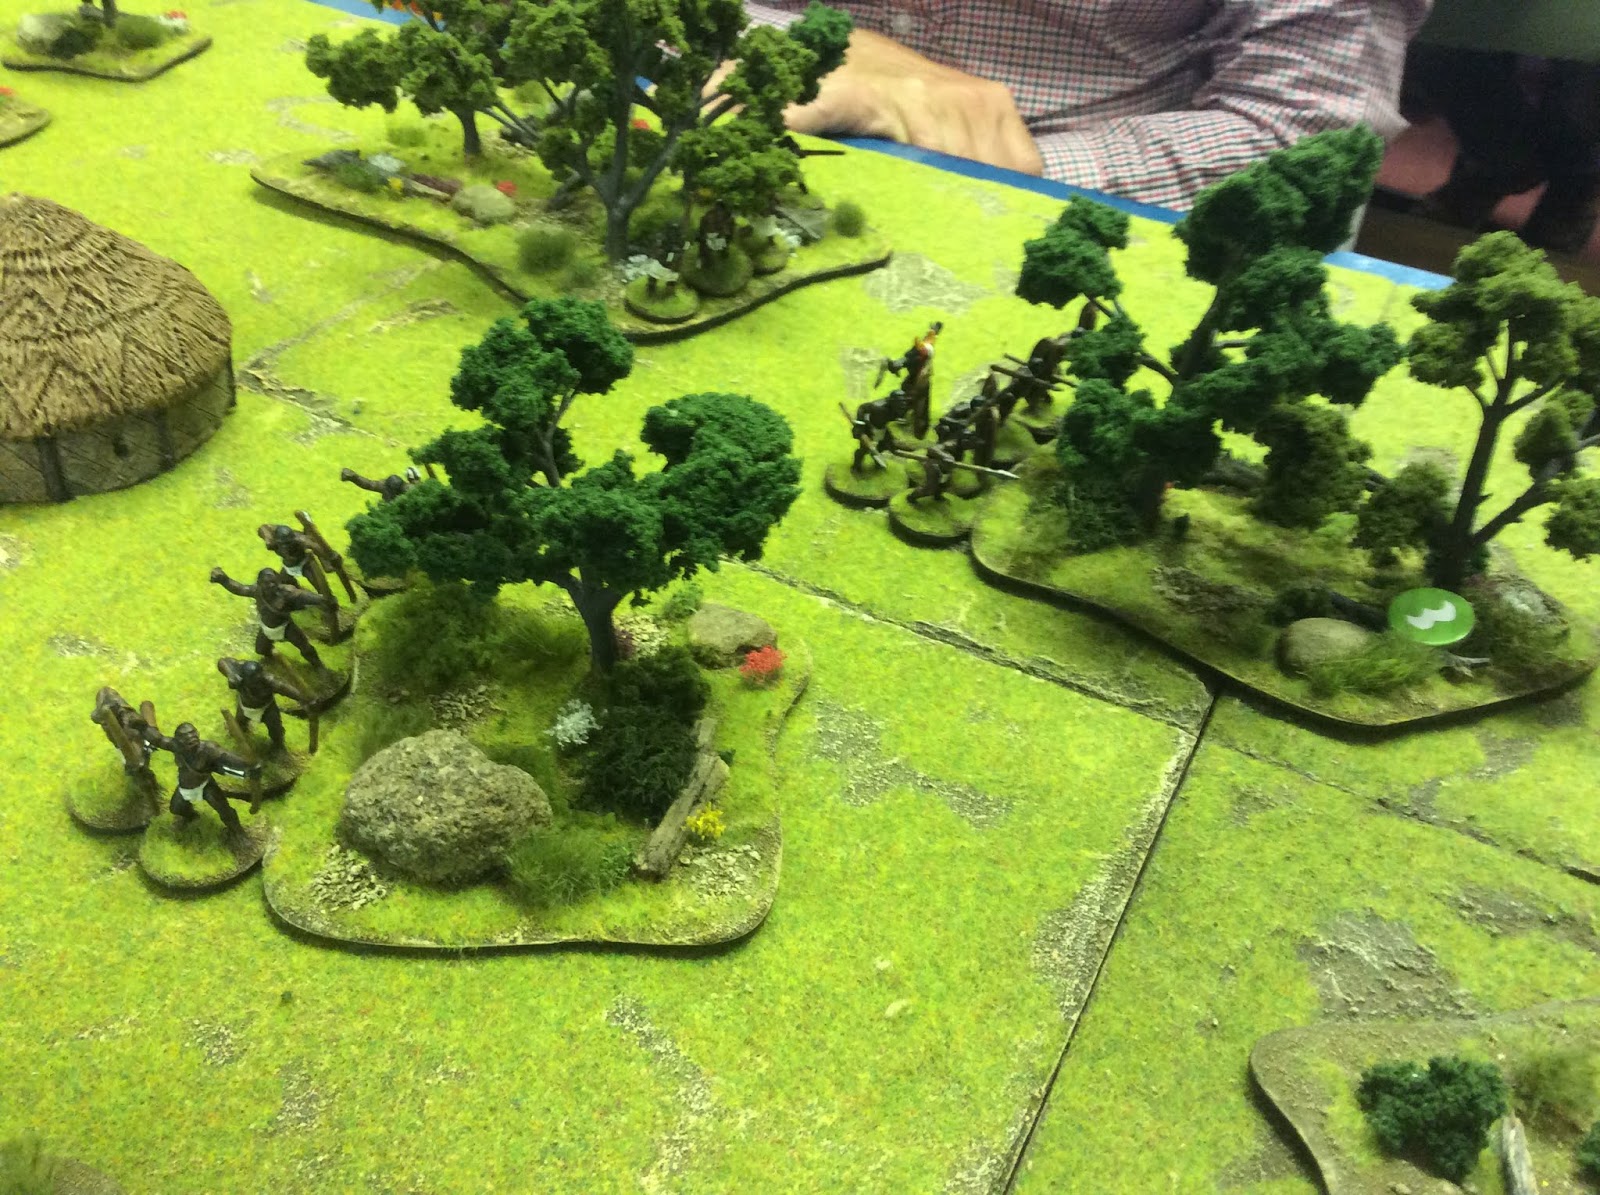
This image shows the approach to Crepon:


You can see how difficult it is, in June with high crops, you can image the restrictions on vision!

Order of Battle

GERMAN

Regimental HQ (Regular) - Arrive Turn 2
1 - HQ Stand

6th Battalion DLI (Regular) - Deploy at Crepon
1 - HQ Stand
1 - 6pdr ATG/Truck
1 - 3" Mortar/Truck
1 - Carrier Platoon (Rifle if Dismounted)
4 - Companys (of 3 Rifle Stands)
1 - MG Platoon

8th Battalion DLI (Regular) - Arrive Turn 2
1 - HQ Stand
1 - 6pdr ATG/Truck
1 - 3" Mortar/Truck
1 - Carrier Platoon
4 - Companys (of 3 Rifle Stands)
1 - MG Platoon

9th Battalion DLI (Regular) - Arrive Turn 3
1 - HQ Stand
1 - 3" Mortar/Truck
4 - Companys (of 3 Rifle Stands)

124th Field Artillery (Regular) - Arrive Turn 4
2 - 25pdr (deployed to rear of Crepon) - 6 Fire Missions
1 - OP Team

4th/7th RDG (Regular) - Arrive Turn 3 (attach to any On-Table Battalion)
2 - Sherman 75
1 - Sherman Firefly

41st AT Battery (Regular) - Arrive Turn 5 (attach to any On-Table Battalion)
1 - Achilles (17pdr)
1 - M5 Stuart (37mm) (Recee)

GERMAN

Flak Battalion (Regular) - Deploy at Villiers-le-Sec
1 - 88mm Flak (no tow)
2 - 20mm Flak (no tow)

Regimental HQ (Regular) - Arrive Turn 2
1 - HQ Stand
1st Battalion 915th Grenadiers (Regular) - Arrive Turn 2
1 - HQ Stand
3 - Companys (of 3 Rifle Stands)
2 - HMG
1 - 81mm Mortar
1 - 120mm Mortar/Truck
1 - 75mm Infantry Gun/Truck

2nd Battalion 915th Grenadiers (Regular) - Arrive Turn 3
1 - HQ Stand
3 - Companys (of 3 Rifle Stands)
2 - HMG
1 - 81mm Mortar
1 - 120mm Mortar/Truck
1 - 75mm Pak 40/Truck

352nd Artillery Regiment (Regular) OP Arrives Turn 4
2 - 105mm (off-table)
1 - OP Team

352nd Pioneers (Regular) - Arrive Turn 2
1 - HQ Stand
3 - Engineers Rifle/Flame
3 - Rifle
2 - HMG
1 - 81mm Mortar

352nd AT Battalion (Regular) - Arrives Turn 5 (attach to any On-Table Battalion)
2 - Stug 75mm
1 - Marder III

The Game


The British 6th Battalion deployed at Crepon, with defend orders, whilst the British 8th Battalion, supported by Ant-Tank units advanced under attack orders on (their) left flank, with the intention of sweeping left onto the village of Villier-le Sec.


The 9th Battalion, with armour attached, had orders to advance on (their) right flank as far as the hedgerow, then revert to defend orders, and give support fire.


The German 1st Battalion was ordered to advance into Villier-le-Sec, whilst on the German right flank, the 2nd Battalion and the Pioneers were ordered to attack the village of Crepon.

Because the respective advances were down the same flank through cornfields (they look like plough in the images, but they represent crops) they basically stumbled into each other when they are 300 yards apart - once of the nice quirks about Spearhead is that you must follow orders until you sight the enemy, which because of the crops, meant 3"...!


The resulting combats were brutal, with all German armour destroyed, as well as the British Anti-Tank units...the last stug and the achillies, both stationary, destroyed each other at the same time!
Losses mounted up on the German side though, and when they had taken 50% casualties, the 915th Grenadiers broke. The Pioneers were also approaching breaking point, and the German attack was nullified.


The other British Battalion, supported by Shermans, then advanced on the German village.
We called it at this point, as it was a clear British victory.

Observations

This was a fantastic game, everything I wanted from the rules - we learned a few things as well. Bob (the German player) realised early in the game that he has misdeployed his 88, and it didn't fire a shot in the entire game as it never had line of sight.

Also, because he deployed in depth (Pioneers in the front, Grenadiers to the rear) he had numerous problems making his suppport units as effective as they should have been - in Spearhead, support units can fire through their original fighting Battalions...it is an abstraction to simulate the close co-operation between battalions and their support units.

Lessons learned!

For my part, as British player, I got the tactics just about right - support units (HMGs, Ant-Tank guns and tanks) all working well with mortars to nullify the Germans. 6th Battalion took heavy losses, but the British had 2 Battalions remaining to win the day.

Friday 3 August 2018

Chain of Command

I've been looking for a set of WW2 rules for a couple of different scales, first for my 15mm figures I am looking for something which gives a game that is approx 1:1, and secondly, I am after something for larger combined arms games using my 10mm figures, of which I have gazillions.


I am settled on going back to Battlefront WW2 for the larger games, from the Fire and Fury guys, and will write about this later in the year once I've done some rebasing, but for now, I am taking a look at Chain of Command from Too Fat Lardies.

I've been reading the Chain of Command rules now for a few weeks, and what I particularly like is that the ground scale is 12" = 40 Yards, meaning 15mm is 2 yards...almost exactly the correct groundscale for 15mm figures. Box duly ticked!

I put together a small game as a rules tryout, using the Patrol Scenario (number one in the rulebook).


Forces

Germans were:

PLATOON HQ: Senior Leader with Machine Pistol

SQUADS x3: Junior Leader with Machine Pistol, 1 Panzerfaust: LMG Team: MG34, 2 Crew, 1 Rifle; Rifle Team: 6 Rifle

They had 3 support points, and took an adjutant and a Panzerschreck Team (2 man crew).

Russians were:

PLATOON HQ: Senior Leader with Pistol

SQUADS x3: Junior Leader with SMG; LMG with 2 Crew; 7 Riflemen

They had 6 support points and took a T34/76.


The Game

After the patrol face, and jump off points sorted, Russians took the first go - they managed to establish a very early firebase in the woods, covering quite a wide area. The Germans were always on the back foot, and the German player missed an opportunity to establish two firebases to target the woods.


It is easy to under-estimate how much this affected the game...the German player spent the rest of the battle playing catch-up, and lost numerous troops whilst trying to do this...the one bright spot being the destroying of the Russian tank with a panzerschreck, used in ambush with a CoC Dice....it wasn't just destroyed, it actually exploded showering an adjacent rifle team with bits of metal!

Eventually though, the Russian fire ground down the Germans, and that was that.


Conclusions

I made a couple of mistakes in the game, the main ones being forgetting the German national characteristic, which would have helped with firepower, and also that the Panzerschreck team should have been included, so more support points were available than they had.

Overall though, we all enjoyed the game - historical tactics are rewarded, and unlike some games, you can't just run across an open field, or use your tanks unsupported!

Very enjoyable!


Monday 18 June 2018

New Project & Evolving Painting Styles

I am starting a new "force" to go along with my already completed Darkest Africa figures, this time the dreaded Force Publique...'cos everyone needs a bad guy to face, even the Arab Slavers...!!!

I have bought one pack each of:

I've learned a lot over the last year painting figures from the 28mm Foundry Darkest Africa range, and my painting style has been evolving slowly from a Base Coat/Dip/Highlight style I've done in the past to a blended style.

I have particularly been influenced by a book from Javier Gomez (better known as El Mercenario) called "Painting Wargames Figures" - honestly, I wish I had access to this book years ago, as it has proven invaluable for working out a colour pallet. You can buy the book at:
Read more at:
Anyway, as much for me to remember what i did, as for anyone else, here is my test figure for the Force Publique, with the colour combinations I used. I mix paints as a rule, and blend on the pallet as the mood takes me, rather than paint from the pot.


Colours Used

VMC = Vallejo Model Colour
VGC = Vallejo Game Colour
All percentages are approximate...I go with what looks right!

Skin
Base Coat - 80% VMC Hull Red & 20% VMC Black
1st Highlight - 80% VMC Hull Red 20% VMC Light Brown
2nd Highlight - Add more VMC Light Brown for final 2nd Highlight(s)

Lips
100% VGC Tan

Blue Uniform
Base Coat - 80% VMC Prussian Blue & 20% VMC Black
1st Highlight - 100% VMC Prussian Blue
2nd Highlight - 80% VMC Prussian Blue 20% VGC Off-White

Red Sash and Fez
Base Coat - 100% VMC Cavalry Brown
1st Highlight - 50 % VMC Cavalry Brown & 50% VMC Red (947, as there are more than one red in the range)
2nd Highlight - 100% VMC Red (947)

Buttons
100% VGC Polished Gold

Gun Stock
Base Coat - 100% VMC Hull Red
1st Highlight - 50% VMC Hull Red & 50% VMC Mahogany Sand
2nd Highlight - 100% VMC Mahogany Sand

Gun Barrel/Bayonet
Base Coat - 50% VGC Gun Metal & 50% VMC Black
1st Highlight - 100% VGC Gun Metal
2nd Highlight - 100% VGC Chainmail Silver (just the edge of the bayonet, and fine details)

Gun Barrel Bands
100% VGC Polished Gold

Leather Scabbard and Ammo Box
Base Coat - 100% VMC Black
1st Highlight - 80% VMC Black & 20% VMC Neutral Grey

That's it for now - hope you find it useful! I will post more at a later date, including information on my basing style, which I've been asked about a few times.

Tuesday 5 June 2018

In Darkest Africa (Homebrew Rules)

So, after lots of playing around with rules for the display game I am doing at our Wargames Show, I've decided on a mix of rulesets - I am using most of the "Congo" rules and mechanisms, but am also using the activation system from Donnybrook/Sharp Practice.

We've had three test games so far, and it has been very successful...photos from the latest game are at the bottom of the page, and the rule amendments used are below.

The Main Rule

Use the Congo rules as written, except as noted below (by section).

General

Increase Measuring Sticks, so instead of 4, 6 and 12 inches, they will be 6, 12 and 18 inches.

Add artillery as a unit:
  • Range is L x3
  • No. of Dice as per Figures in Unit (start with 4)
  • Dice is d8 within 1L, 1L-2L d6, 2L-3L Half d6;
  • Reload
  • Cannons have a 45 degree arc of fire (from the barrel), they need a move action to turn
  • Units targeted by cannon fire draw 2 stress tokens
Characters now have there own shoot/combat/morale dice where applicable;

Unit cohesion changes to 1";

Line of sight - because units now have a cohesion of 1", units have an arc of fire of 45 degrees. If units fire to their side and rear, use half dice, as if it was an obscured target.

Unit/Character Activation

Remove section, and replace with Donnybrook card activation. There will be a card for each unit/character, and they will activate on the turn of that card;

Characters can join/leave units on their card; As in Donnybrook, they are simply placed 2" away from the unit and can take a turn if not already activated with the unit; They cannot leave and joing a unit in the same turn; they can be targeted if they leave a unit...so don't do it when in line of sight!!!

There is no reload card (this is now an order), but there IS a Turn End card, just to add unpredictability!

On the turn of your units card, it gives one action:
  • Move
  • Fire
  • Load
  • Charge
  • Rally
  • Opportunity
  • Terror Attack (performed only by units with a character only)
Opportunity Fire - a unit may be placed on opportunity as an order, it will remain on opportunity until its next activation. It can shoot at half dice in reaction to another units movement;

Movement

As written, other than references to the Congo Card Deck

Shooting

Revised Weapon Ranges:
  • Rifle/Jezzail Range should be L x2, i.e. 36" (d6 to hit at more than 18"; if the unit has d6 ability, then half dice);
  • Spear Range changes to S, i.e. 6"
  • Pistol Range is M, i.e. 12"
  • Others remain the same;

Melee

As written, other than references to the Congo Card Deck.

Running Away

As written, other than references to the Congo Card Deck.

Totems

Revised Totem Cards:
  • DICE: Add dice to any roll;
    ACTION: Gives the unit activated an extra action;
    STRESS: Lose a stress token;
    MOVE: Move x units 'S';
    STICK: Add S to any distance;
    INITIATIVE: Cancel a units activation;

The Game Photos

Didn't get chance to do a write up, but the game itself was played with a 120 point attacker force, and a 80 point defender force. We have played two games like this so far, and it was one win each, so is well balanced.


Friday 11 May 2018

Darkest Africa: Donnybrook

Another week, another set of rules - this week it was Donnybrook, from the League of Augsburg team - http://leagueofaugsburg.blogspot.co.uk/

I'm looking for a set of rules (a) to use for a display game at our clubs show (http://www.durhamwargames.co.uk/show/index.htm), and (b) to use as a generic skirmish set that we can dip into from time to time without having to spend time re-learning a complex set of rules every time we play.

I'd heard good things about Donnybrook, which seems to me to be a cross between Sharp Practice and Bolt Act action, with a mechanic that I particularly like which is the different dice sizes to match different abilities (d6, d8, d10, d12). Though it is period specific, apparently it started out life as a Darkest Africa set, and is readily amendable in true toolkit fashion!

I have added some more terrain and figures to my setup this week, including some native villagers, a corral and animals, a campfire and an extra foot of table (making 5' x 3') complete with dedicated village tile.


The game itself used some amendments I'd knocked up (liberally borrowing some ideas from the Chris Peers set 'In the Heart of Africa'.

The Forces

Natives:

1 x Native Chief (Character)
1 x Witchdoctor (Character)
1 x Warriors (in 5s)
3 x Spearmen (in 5s)
1 x Musketeers (in 5s)
2 x Archers (in 6s)
1 x Pygmy Archers (in 6s)

Explorers:

1 x Explorer (Character)
1 x Allied Zanzibari Sheik (Character)
1 x White Men (in 3s)
1 x Soldiers (in 4s)
1 x Heavily Armed Askari (in 4s)
2 x Askari (in 5s)
2 x Allied Zanzibari Askari (in 5s)


Unit Statistics

UnitsAbilityShootingCombatMoraleWeaponSpecial
Native Chiefd12d10d12d12Assegai: Heavy Weapon; Shield: ParryReroll misses in combat
Witchdoctord10d10d10d10Staff: Heavy WeaponCurse
Warriorsd8-d8d8Assegai: Heavy Weapon; Shield: Parry 
Spearmend8-d8d8Spear: Martial; Shield: Parry 
Musketeersd6d6d6d6Old Musket: Range 16"; Reload; Misfire; Hand Weapon 
Archersd6d6d6d6Bow: Range 12"; Move and Fire 
Pygmy Archersd8d8d6d8Pygmy Bow: Range 10"; Move and FireTreat soft cover as hard cover
       
UnitsAbilityShootingCombatMoraleWeaponSpecial
Henry Morton Stanleyd12d12d12d12Rifle: Range 30"; Hand WeaponDisciplinarian
Shiek Y'Abouted10-d10d10Big Chopper: Heavy WeaponRe-roll misses in combat
White mend10d10d8d10Rifle: Range 30" OR Pistol: Range 10", Move and Fire; 
Soldiersd10d10d10d10Rifle: Range 30"; Hand Weapon 
Askarid8d8d8d8Musket: Range 24"; Reload, Hand Weapon 
Heavily Armed Askarid8d8d8d8Rifle: Range 30"; Hand Weapon 

I decide to drop some of the dice a grade, to reflect some of the ideas I had about ability. The differences between Warriors and Spearmen in the native faction are there to reflect different styles of fighting...something I may tweak in future. Also, because the muskets were mainly modern, I judged that Misfire wouldn't be appropriate. We kept it for the poorly maintained native musketeers though, and reduced their range accordingly.

I made up a set of cards using a double-sided colour printer, and some Ultra Pro Regular Toploaders (set of 25) which were excellent for the purpose.

The Scenario

The scenario was essentially a rules learning exercise.

The explorers were looking for safe passage for their caravan, and a group of Zanzibar Merchants had offered to show them the way.....of course, the Zanzibar player had a side mission, in that they were really slavers, and had to capture some of the villagers.

The natives were aware of the slavers presence, and simply had to defend their village.

The Game


The natives deployed across a broad front, archers on the wings, with pygmy archers in ambush.

 
The Explorers and their Zanzibar allies entered the table in line, just in case their was trouble!

 
Stanley, and the group of white men (2 x pistols & 1 x rifle) accompanied the booty!

 
This is where the rules came as a bit of a surprise to one of the players - he had expected to get a shot off with his elite soldiers, but the random unit activation meant the natives were on him (they can really get a lick on, moving 12" - 6" move, and a further 6" in their charge phase)...three kills on contact (units charging fight first, a la Games Workshop/Bolt Action etc. Combat is simultaneous in future turns) before any response could be made, and the soldiers immediately routed...!

 
Progress for the natives wasn't as good on the other flank, and ta unit found itself surrounded by Zanzibaris.

 
Meanwhile, the supporting archers advanced into terrain, using their "move and shoot" ability to good effect.

 
On the other flank, the Zanzibari Sheik saw off all comers...

 
The villagers were oblivious to their impending peril!

 
The Sheik was finally cut down by the Warriors...specifically designed as character killers, with their heavy weapons.

 
The Pygmys sprung their ambush, advancing to shoot Stanley and the white men...

 
...and cutting down the white men with their fire!

 
Stanley faced the charge, as the Pygmys moved in for the kill!

 
The booty tried to get out of the way, not seeing the Witchdoctor in the forest...!

 
Meanwhile, Stanley beat off the pygmy attack...

 
The pygmys got their revenge by shooting Stanley down....he died peppered with arrows!

 
The Warriors, having cut their way through everything in front of them, killed the last remaining askari...

 
...and the booty was theirs...!!!
 
Conclusion
 
An excellent game overall, Donnybrook is fast, furious and exciting...like any character based game, you get out of it what you put into it. I thought that the Explorers firepower would give them an edge, but by failing to form a decent fire line, and allowing the natives to get into combat, they blew their advantage. It was brutal...!
 
Definitely a game we will play again!